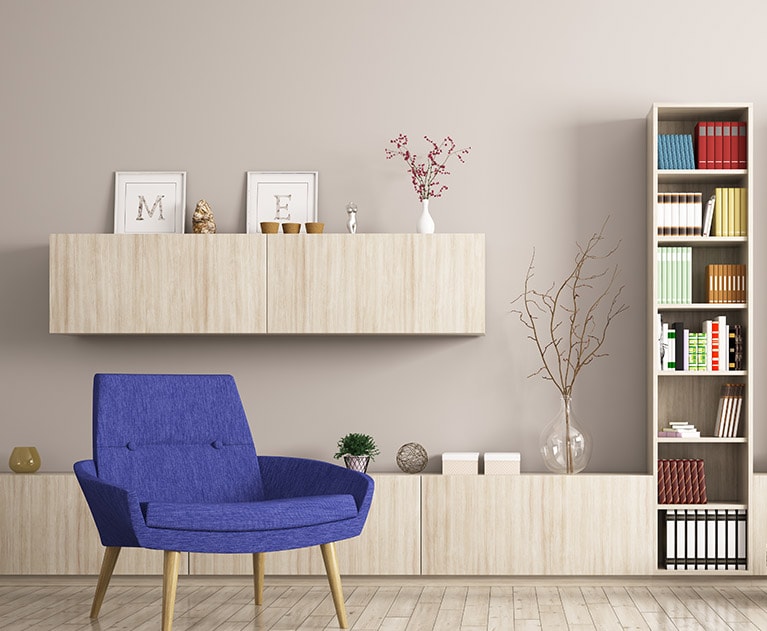
Essential Interior Wall Painting Tips for a Stunning Makeover
Introduction to Painting Interior Walls
Painting walls is an easy and inexpensive way to transform a room or space with the right painting tips and techniques. If you want to refresh your home or update your style, painting interior walls is a great option. The impact of painting can be positive or negative depending on your technique and the type of paint used, such as latex paint. If you’re interested in learning how to paint, it’s a skill you can develop with practice and some trial and error, and it’s essential to follow a step-by-step guide to achieve a professional paint job. You can paint an average bedroom for under $50, including paint, primer, and tools, making it a cost-effective DIY project. With the right tools and paints, you can master the art of painting interior walls and achieve a stunning makeover. Remember, thorough prep work is crucial for a professional-looking finish.
Preparing the Room
Step 2: Preparing the Room
-
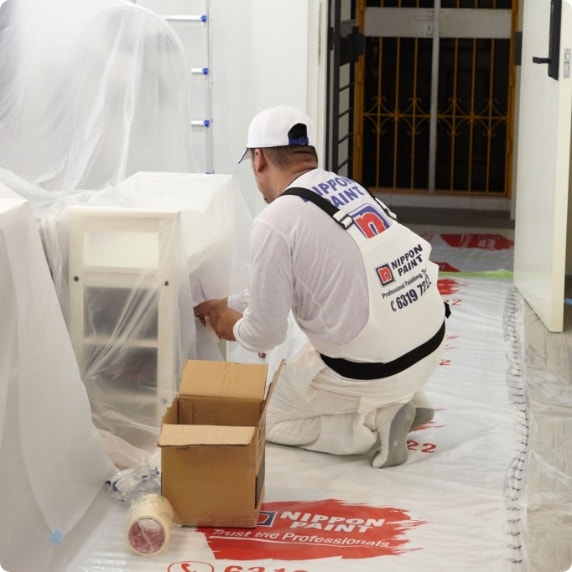
Clear or move items to the center of the room and cover with a tarp or rosin paper if space allows, to prevent damage and make cleanup easier. Place furniture and other items on the tarp to protect them while you work on the room.
-
For small or cluttered rooms, partial or full clearing works best to avoid tripping hazards and ensure a smooth painting process.
-
Avoid accidental paint spills by keeping the work area organized and free of obstacles, and use a utility knife to cut drop cloths to size. Before you start, check that you have all the necessary supplies and equipment ready.
-
Keep pets and children away from the painting space to prevent mishaps and maintain a safe working environment.
-
Use a guide, such as a roller frame, to help you navigate the room and paint the walls efficiently.
Proper preparation in this step ensures you can paint walls smoothly and achieve the best results.
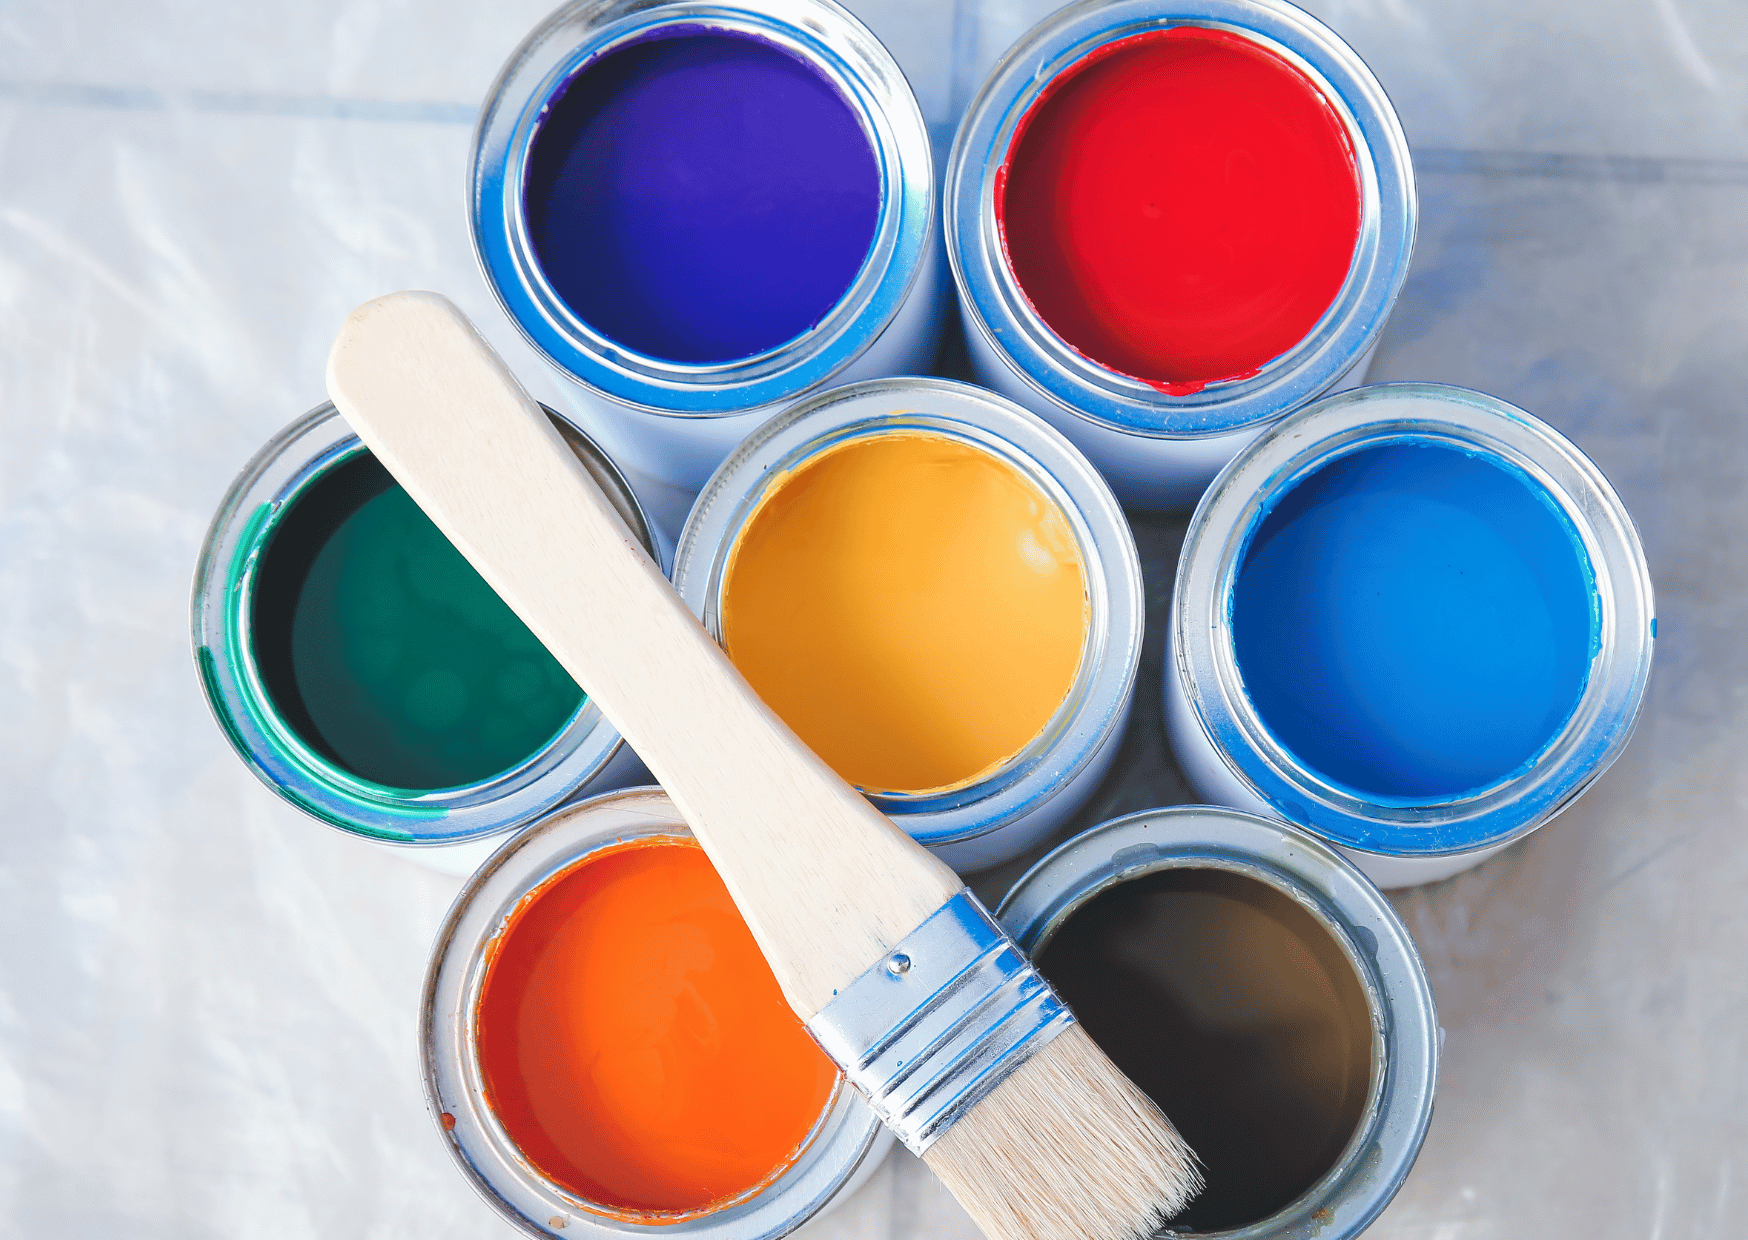
Choosing the Right Type of Paint
-
Choose paint quality and brushes based on budget and project size, considering factors like stain resistance and durability.
-
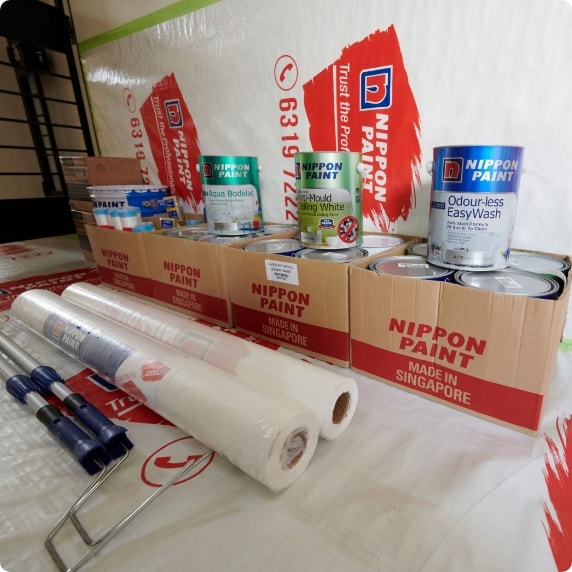
Consider buying primer in bulk for cost savings, and select a paint that suits your needs, such as latex paints for easy cleanup.
-
Latex paints are preferred for walls due to easy water cleanup, but don’t stick well to oil paints without primer, so make sure to choose the right type of paint for your walls.
-
Use a paint tray and roller cover to apply the paint evenly and efficiently, and consider using a roller extension pole to reach high areas.
-
For best results, apply paint several times to ensure each coat is even and the color is consistent.
-
If you want to achieve a specific finish, such as a matte or glossy finish, choose a paint that meets your requirements.
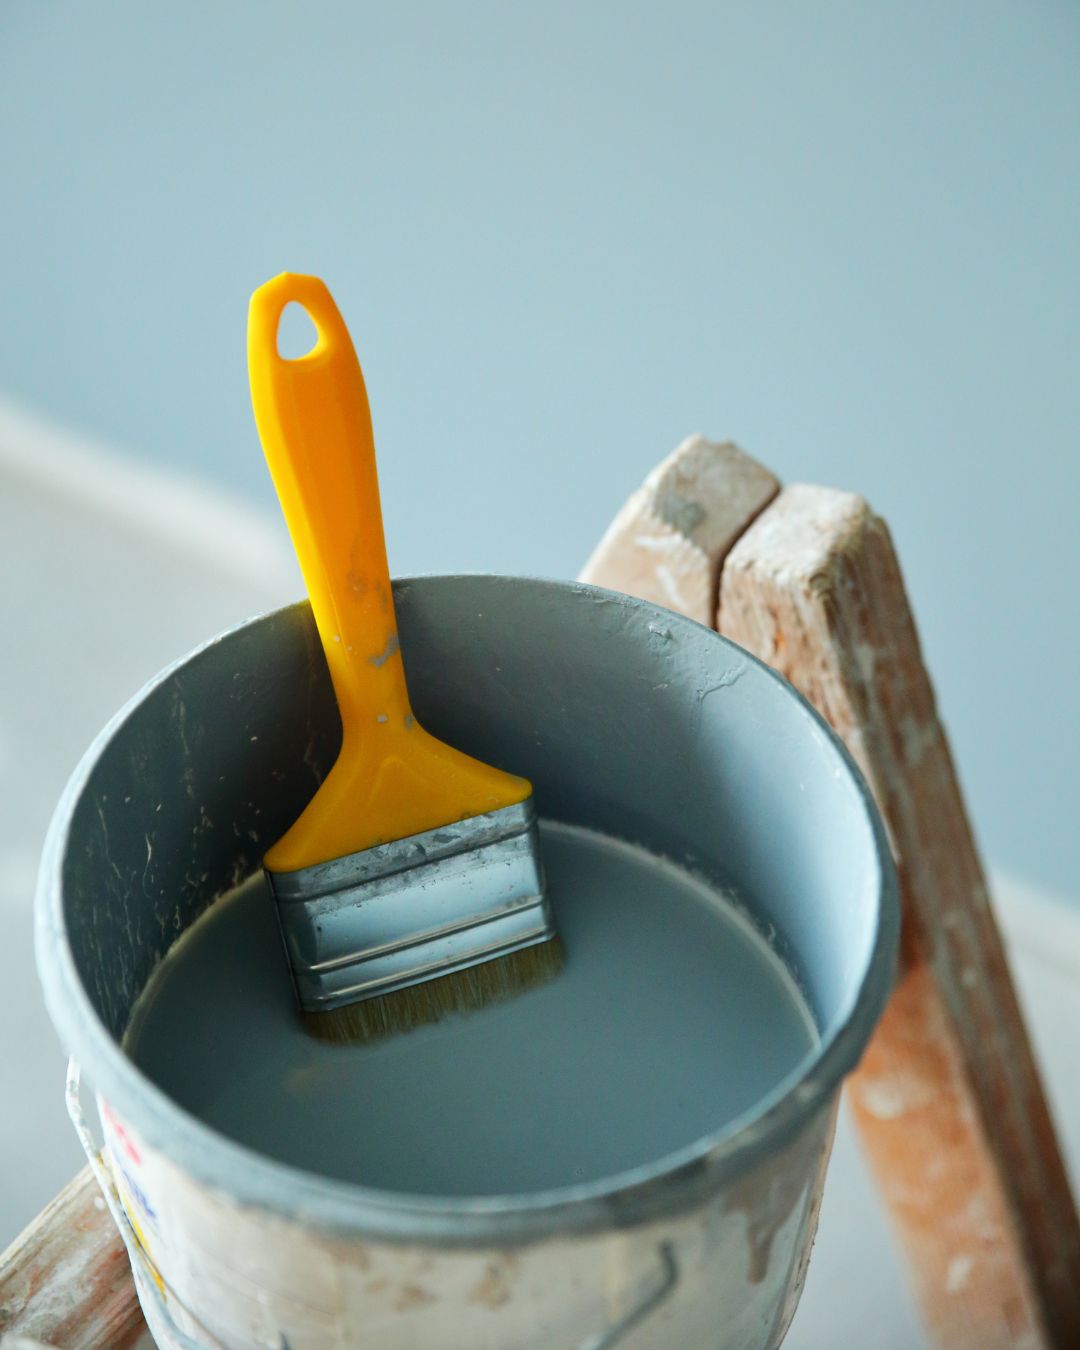
Applying Primer to the Wall
-
Apply primer on the walls as the final prep step before painting, using a roller or brush to ensure even coverage.
-
White primer matches trim and hides minor mistakes effectively, and can help to create a smooth and even surface for painting.
-
Primer may require cutting in like paint, especially on stained or dark surfaces, so use a paintbrush to cut in along edges and corners.
-
Use multiple primer coats if covering vibrant or dark colors for better coverage, and allow each coat to dry before applying the next one.
-
If you’re using a roller, use a roller pan to load the paint and apply it to the wall in sections.
Painting Techniques and Tips
-
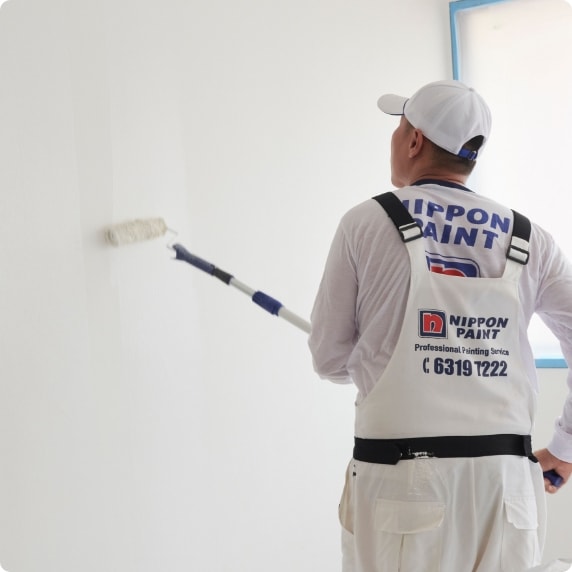
Mix paint thoroughly and apply with brush or roller, expecting multiple coats if changing colors, and use a paintbrush to cut in along edges and corners.
-
If you want to know how to paint a straight line or edge without tape, try using a putty knife or taping knife as a guide for clean results.
-
Avoid overloading brushes or rollers to prevent drips and uneven coverage, and use a roller cover to apply the paint evenly on the wall.
-
Paint entire walls in one session to maintain a consistent finish, and use a W, N, or M rolling pattern for even paint distribution and fewer lines.
-
Use a tack cloth to remove dust and debris from the wall before painting, and apply a second coat after 90 minutes for optimal coverage. For best results, apply paint multiple times to ensure even coverage and color consistency.
-
If you’re painting a large area, use a roller extension pole to reach high areas and paint the walls efficiently.
If you want to achieve the cleanest edges, consider using a taping knife instead of painter’s tape for more control.
Tips for Painting Straight Edges Along the Wall
Achieving straight edges when painting walls is one of the most important steps for a polished, professional look in your painting project. Homeowners often find this part challenging, but with the right tools and a few expert tips, you can create crisp lines along the trim, ceiling, or any edge of the wall.
-
Prep the Surface: Before you start, make sure the area along the edge is clean and smooth. Patch any holes and sand the surface so the paint adheres evenly.
-
Use Quality Tape or a Paint Shield: For sharp lines, apply painter’s tape carefully along the trim or ceiling. Press the tape down firmly to prevent paint from seeping underneath. If you want even more precision, use a paint shield or a straightedge as a guide while painting.
-
Score the Edge: Run a utility knife lightly along the edge of the tape or trim. This helps create a barrier so the paint doesn’t bleed, giving you a cleaner edge when you remove the tape.
-
Cut In with a Steady Hand: Use a high-quality angled brush to “cut in” along the edge. Hold the brush at an angle and use smooth, controlled strokes. If you’re using a roller for the main area, switch to a brush for the edges to get right up to the trim or ceiling.
-
Work in Small Sections: Paint along the edge in manageable areas, keeping a wet edge to avoid lap marks. This technique helps blend the paint seamlessly with the rest of the wall.
-
Choose the Right Roller Cover: For the main wall area, use a roller cover with the correct nap for your wall’s texture. Attach the roller to an extension pole for hard-to-reach spots, ensuring even coverage up to the edge.
-
Check Your Work: As you go, step back and check the edge for any mistakes. If you spot an error, quickly wipe it away with a damp cloth before the paint dries.
-
Remove Tape Carefully: Once the paint is dry to the touch, slowly peel away the tape at a 45-degree angle. This helps prevent the paint from lifting and keeps your lines sharp.
With these tips and the right tools—like a sturdy roller frame, quality roller covers, and a reliable utility knife—you can tackle even the trickiest edges. Take your time, use a steady hand, and you’ll achieve straight, clean lines that make your interior walls stand out. Whether you’re a seasoned DIY painter or just starting out, mastering this technique will elevate the look of your home and give you confidence for your next painting project.
Painting the Trim and Ceiling
-
Paint on the trim first, then on the ceiling, and finally on the walls for easier taping and cleaner lines, and use a paintbrush to cut in along edges and corners.
-
Don’t worry about trim paint on walls; it will be covered when painting walls later, and use a roller to paint large areas quickly and efficiently. If you want to achieve the best results, paint the trim and ceiling before moving on to the walls.
-
Use “easy release” painter’s tape on dry trim before painting ceiling and walls, and remove the tape carefully to avoid pulling off the paint.
-
Follow this order to speed up painting interior walls and achieve a neat finish, and use a utility knife to cut the tape and remove it from the trim.
Working with Different Finishes of Paint
-
Paint finishes vary by light reflectivity, affecting appearance and durability, and can range from flat to glossy.
-
Choose finishes based on room use, surface type, and desired aesthetic, and consider factors like stain resistance and durability.
-
Higher sheen finishes offer better washability and durability for high-traffic areas, while lower sheen finishes hide imperfections and suit ceilings or low-traffic walls.
-
For some finishes, you may need to apply paint several times to achieve an even, consistent look.
-
Use a paint with a finish that meets your needs, and if you want to achieve a specific look or level of durability, choose the finish accordingly and apply it according to the manufacturer’s instructions.
Need to Clean Up
-
Cleaning up: Clean latex paint brushes and rollers with water until clear; dry and store in zip bags, and dispose of cheap brushes and rollers used as roller pan liners if preferred.
-
Follow manufacturer instructions for cleaning oil-based paint tools in ventilated areas, and use a utility knife to cut drop cloths to size. Make sure you have all the necessary cleaning supplies and tools before starting the cleanup process.
-
Remove protective coverings carefully to avoid spreading paint mess, and thoroughly clean brushes, rollers, and other tools immediately after use. Pay special attention to any paint left on the bristles or on the handles to prevent buildup.
-
Proper tool cleaning extends their life and ensures readiness for future projects, and use a tack cloth to remove dust and debris from the wall before painting.
Common Mistakes to Avoid in the Painting Process
-
Avoid lap marks by maintaining a wet edge when painting interior walls, and roll each stroke overlapping the previous before the paint dries to prevent stripes. In step 3, evaluate the condition of your walls before painting to identify any issues that need attention.
-
Latex paint can stiffen quickly, so work fast to keep the paint wet, and use a roller extension pole to reach high areas and paint the walls efficiently. It’s important to use joint compound to repair any damaged drywall before you start painting.
-
Don’t overload brushes or rollers to prevent drips and uneven coverage, and use a paintbrush to cut in along edges and corners. Always patch holes in the wall to ensure a smooth surface for painting.
-
Use a utility knife to cut the tape and remove it from the trim, and follow the manufacturer’s instructions for cleaning and storing paint tools. Proper prep work is essential to avoid these common painting mistakes and achieve a professional finish.
If you’re unsure about how to repair wall damage or prepare surfaces, consider consulting a professional or researching best practices.
You want to avoid these mistakes to ensure your painting project looks its best.
Conclusion and Final Touches of the Paint Job
-
Achieve a great paint job at home by following expert how to paint tips, and use a paint roller with the right roller cover and an extension pole for easier painting. For best results, remember to apply paint multiple times to ensure even coverage and a professional finish.
-
Prepare interior surfaces properly to ensure a smooth and lasting paint finish, and learn how to use a paint brush and paint roller effectively with simple painting tips. When doing final touch-ups, focus on the details on the wall to achieve a flawless look.
-
Master brush handling to complement your paint roller work for a professional finish, and use a tack cloth to remove dust and debris from the wall before painting.
-
With the right tools and paints, you can transform your entire space and achieve a stunning makeover, and use a utility knife to cut drop cloths to size and remove the tape from the trim. Make sure you have all the necessary tools and supplies ready for those final touch-ups.